A few weeks ago we got one of the first DIY Chrome Delete Kits for the Model S by TesBros. We have to admit we were a tiny bit jealous of all the Model 3 owners so we were really happy when this came out.
If you have no previous experience with vinyl wraps (and hello 👋this was us), arm yourself with patience but let me tell you something: you can do it. The first couple of pieces can be challenging but you’re going to be fine, just be patient, check out my tips below to apply a DIY chrome delete kit and remember, if you mess it up, that’s what the extra pieces are there for (yes, the Model S and Model X DIY chrome delete kits by TesBros are double kits).
Without further ado, these are my tips for applying a DIY chrome delete kit.
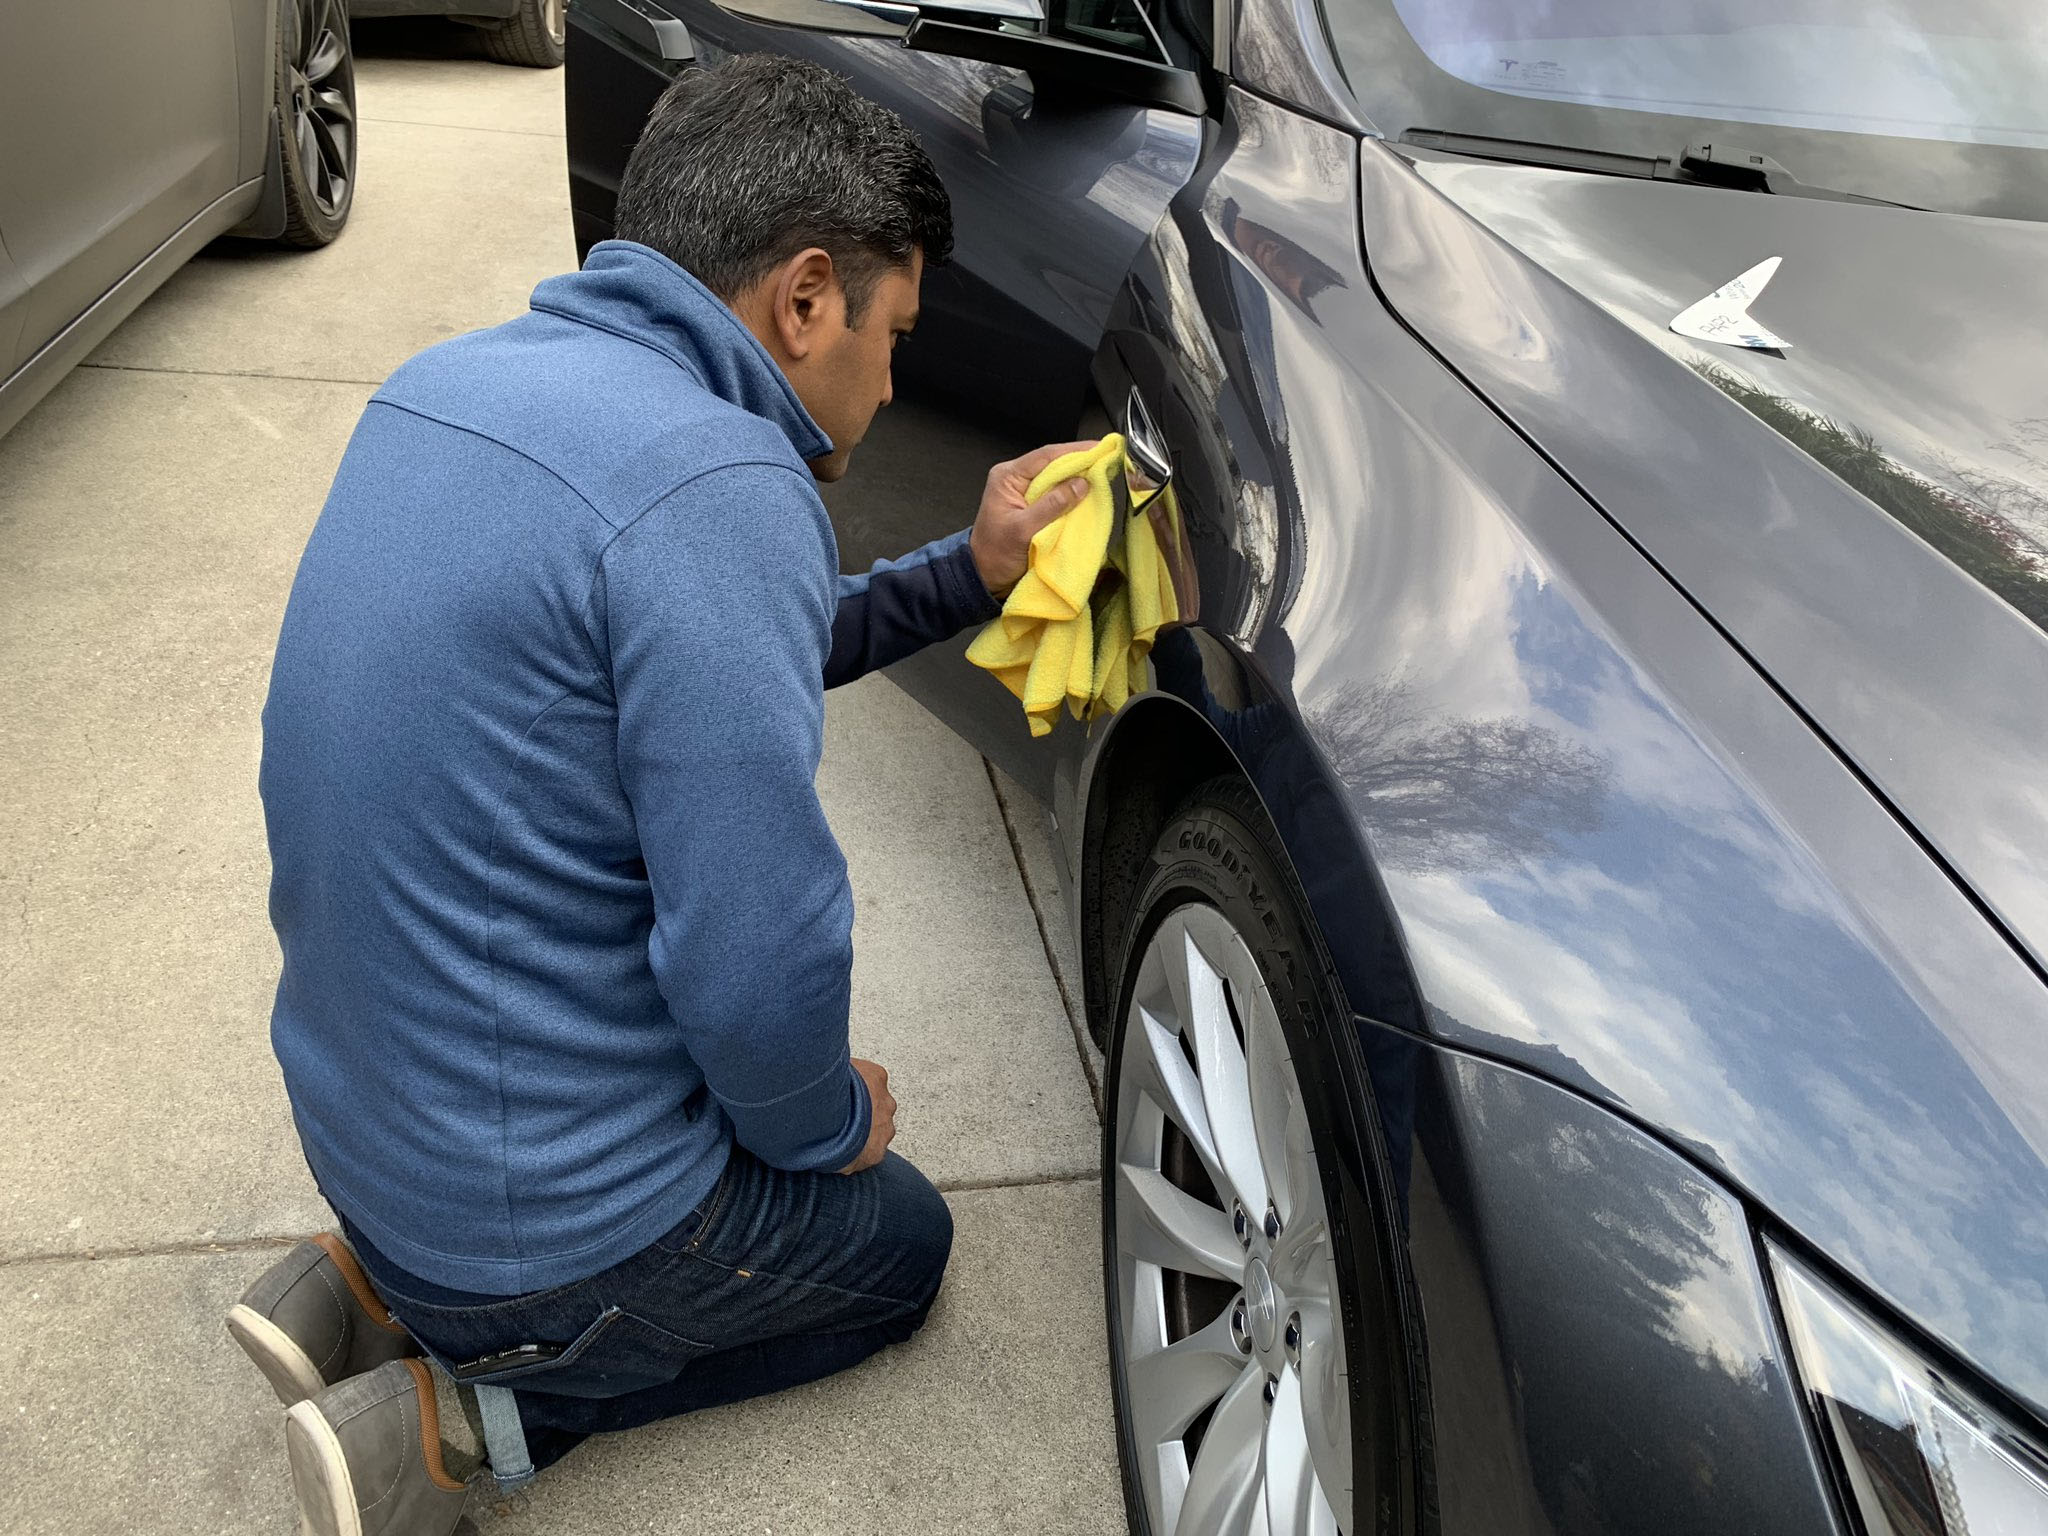
Wash your car before you get started
You probably know this one, but hey, just in case. You can also use rubbing alcohol and a clean microfiber cloth to make sure the chrome is extra clean and dry when you start working with the vinyl.
Watch the installation videos
I recommend watching the video of the part you’re going to work on right before you do so. It’ll show you exactly how to do it and you’ll be most likely to succeed.
Make sure you have all the pieces
We didn’t do this and it ended up being a mess. I learned this from @SeasonedTech and @OMG_TSLA at the chrome delete party hosted by @teslaownerssv (what a convenient time to throw a chrome delete party, thank you! 😁 You’ll also appreciate having done this when it’s time to store the extra pieces.
Start with the side trims
This is my personal opinion after starting with the back which for me was one of the most difficult parts. Start with the side trims, they are rewarding because they cover a big part so you can see the results, and they are less challenging than the back if you’ve never done this before.
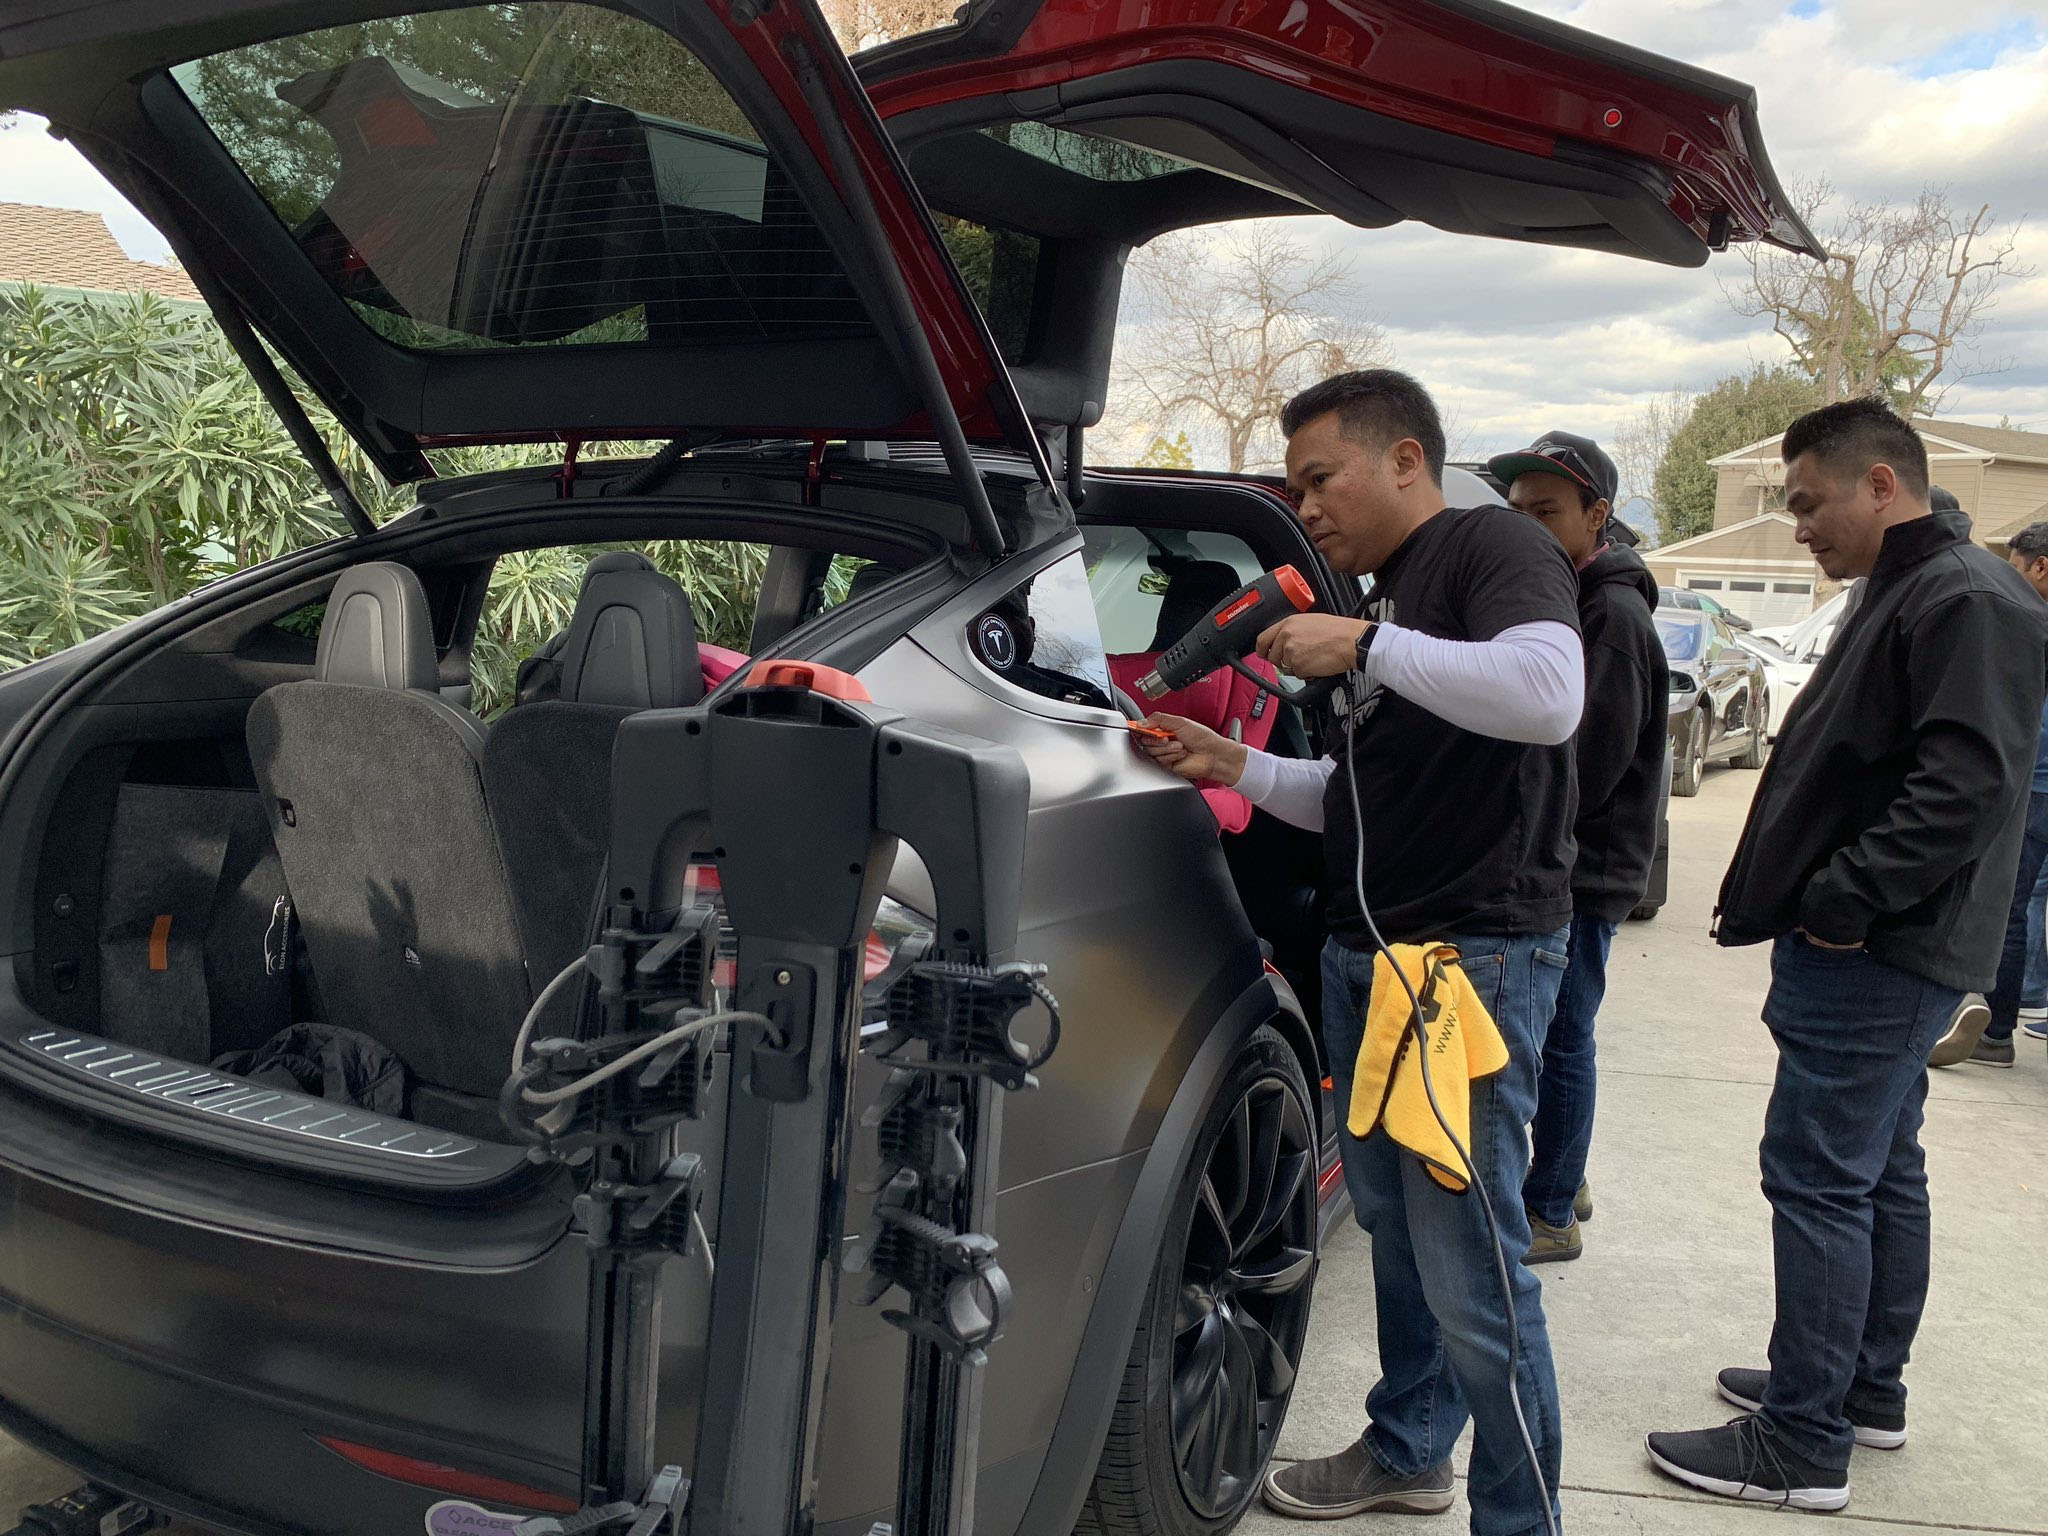
Don’t heat too much, don’t stretch too much… but do
The vinyl stretches and you should definitely use that in your favor. However, applying to much heat will make it shrink and you won’t be able to manipulate it anymore since the vinyl gets cold really fast. A hair dryer will do if you don’t have a heat gun (hint: you may need a cord extension or two- we actually used three!).
Chispas looks amazing after applying TesBros’ DIY Chrome Delete Kit, don’t you think?
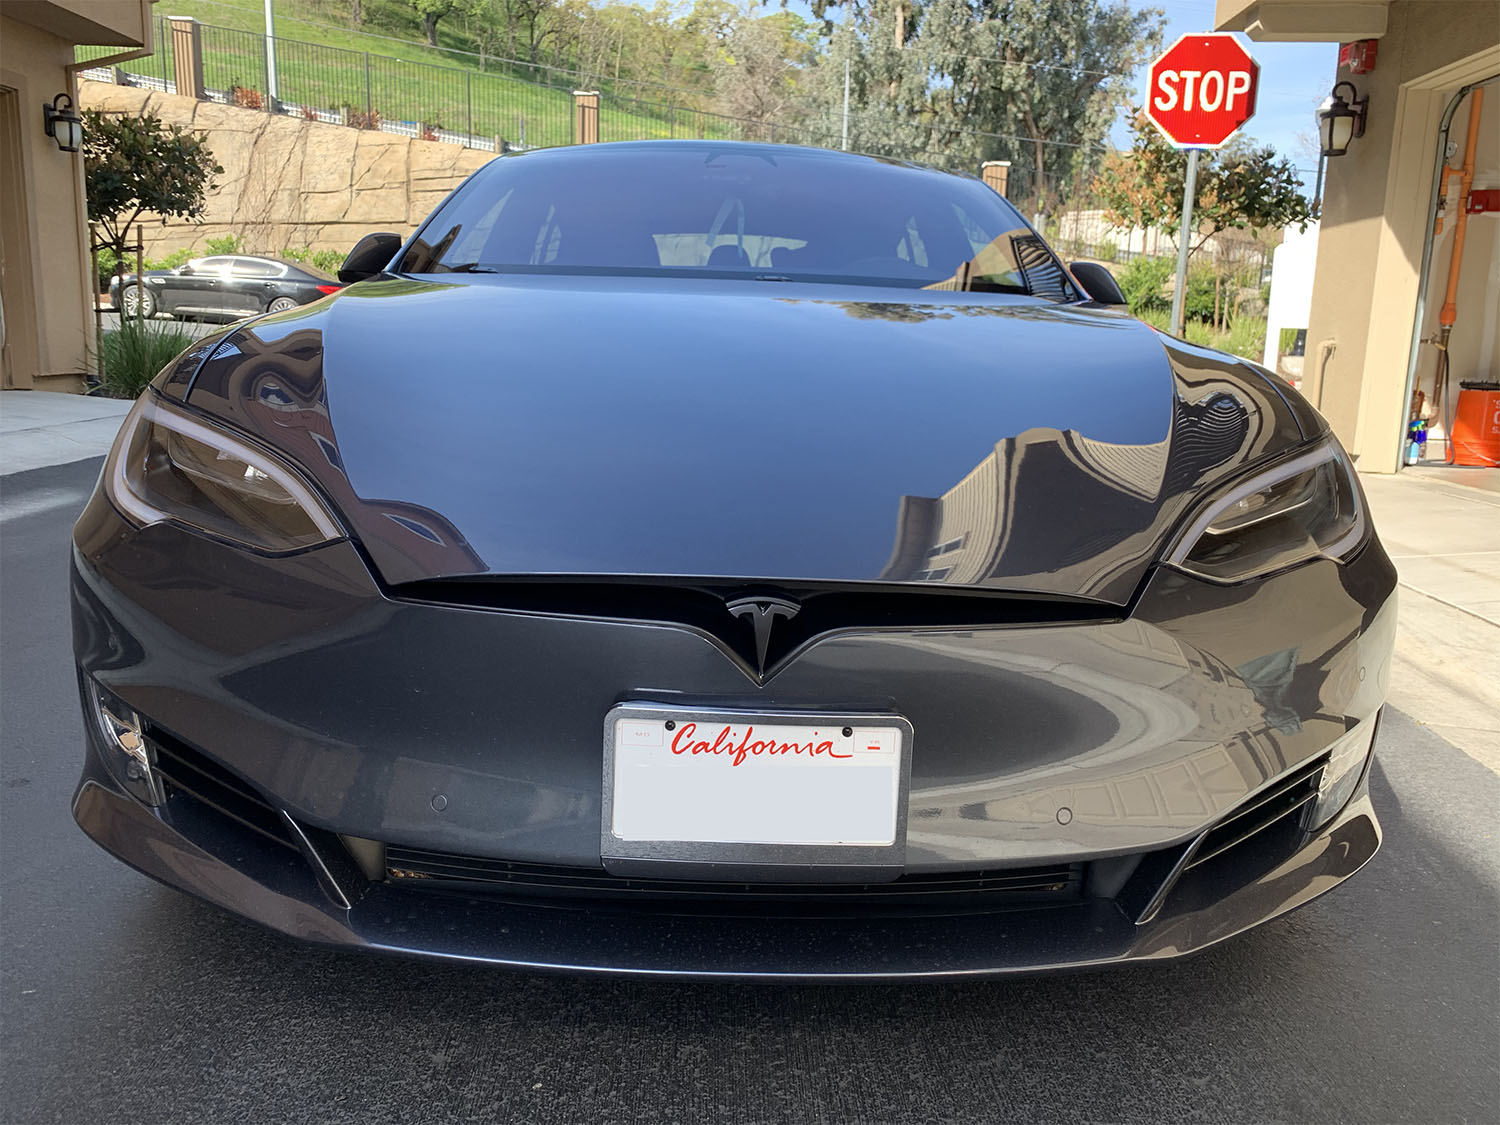
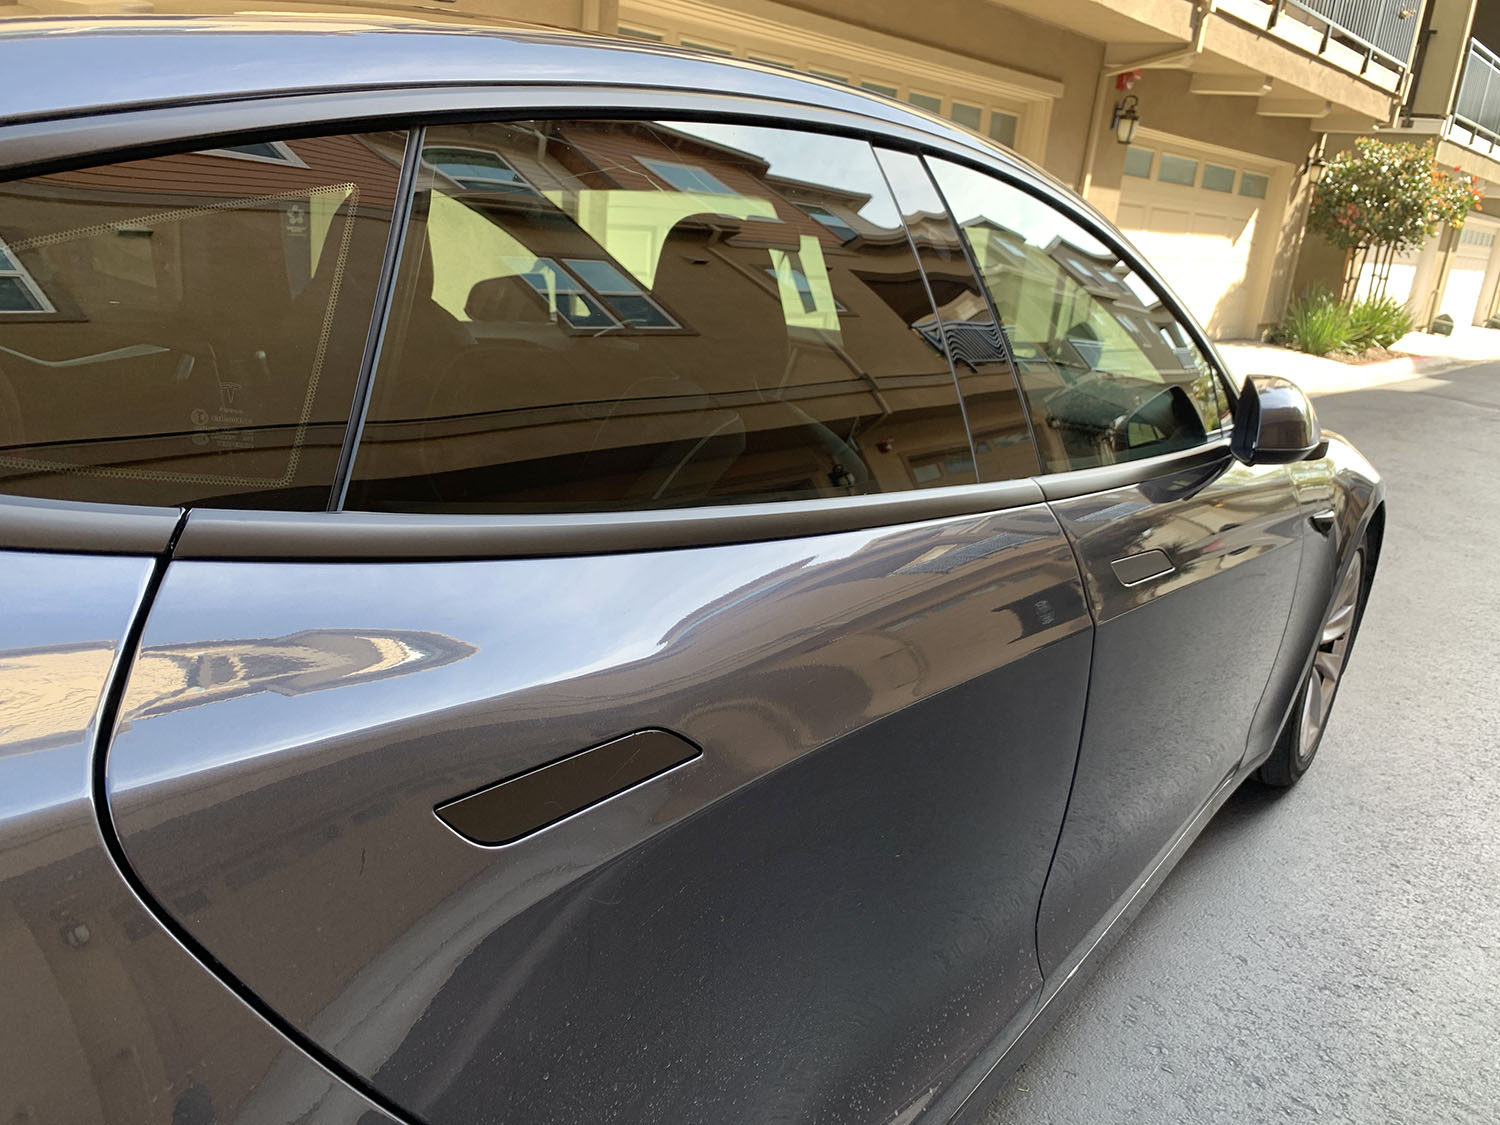
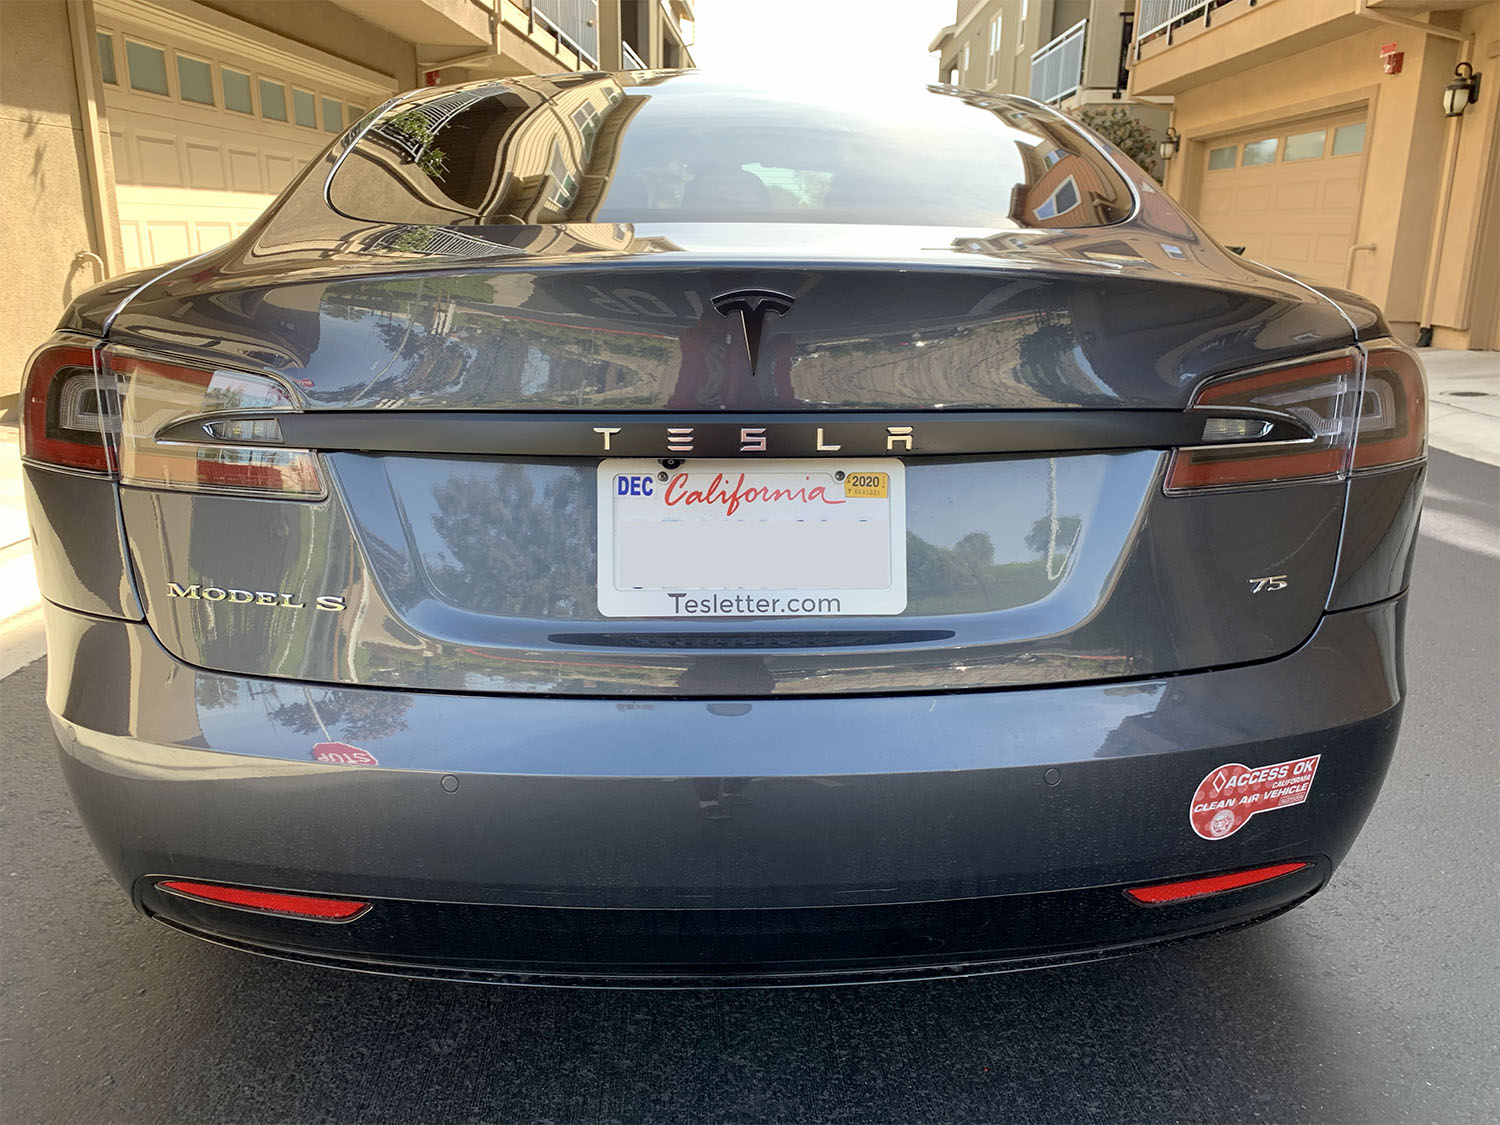
You might be able to see some flaws if you look closely, but mostly only you know where they are. I’ve already got many compliments on it. We chose no accents because we loved the black on grey midnight silver combination, but that’s always an option. When it comes to cleaning, here’s another writeup we did with some tips to wash your chrome deleted car.
We’re partnering with TesBros to help spread the word about their amazing discounts on the Chrome Delete Kits. Use the code ‘TESLETTER’ at checkout to get an extra 10% off:
- Model 3 DIY Chrome Delete Kit
- Model S and Model X DIY Chrome Delete
Have questions? Reach out at contact@tesletter.com
Have you not ordered your Tesla yet? Use my referral code http://ts.la/ignacio9266